02B Recording and Editing MIDI
Recording MIDI
1. Computer MIDI Keyboard
To activate the computer MIDI keyboard, type "M" or click on the keyboard icon in the top right corner

To adjust Computer MIDI Keyboard Octave Range Up/Down use X and Z keys
When the Computer MIDI Keyboard is enabled, you can play notes and adjust the octave and velocity ranges using the following keys:

2. Recording

1. Pressing the Control Bar’s Arrangement Record (circle) button starts recording. Recording usually starts as soon as the button is pressed. If it doesn't start, click the Play (triangle) button. Press the Stop (square) button to stop
2. Recording creates new clips in all tracks that have their Arm button on (see the red button 5)
3. MIDI Arrangement Overdub allows you to record additional notes into an existing MIDI clip
4. This is the Punch-In switch for protecting the parts of a track that you do not want to record over - more advanced use
3. Recording in Sync
It is important to record in sync to make sure everything will later play in sync.
The easiest way to record in sync is to play along with or to use the built-in metronome, which is activated via its Control Bar switch and will begin ticking when the Play button is pressed or a clip is launched.

You can access the Metronome Settings menu via the pull-down switch next to the metronome, or by opening the context menu via right-click(Win) / CTRL-click(Mac) on the metronome itself.
The menu lets you set the count-in length for recording.
You can also change the sound of the metronome’s tick.
Hands On
- Arm a MIDI track for recording
- Drag a Sound/Instrument into that Track
- Enable the Computer MIDI Keyboard
- Try recording a few notes
4. Special Note for Recording Drum Kits
Parts of a Drum Kit
1. Kick drum
2. Snare
3. Low tom
4. Mid tom
5. High tom
6. High Hat
7. Crash
8. Ride
.png/736px-Kit_batterie_(l%C3%A9gende).png)

Hands On
- Arm a MIDI track for recording
- Drag a Drum Kit into that Track
- Enable the Computer MIDI Keyboard
- Use the Z key to move octaves down until you are in the C1 octave
- Try recording a few beats
Editing MIDI
5. Quantizing

6. Step Recording

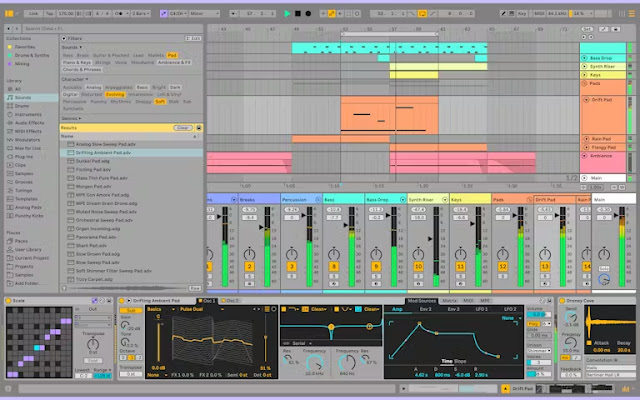
(c) Double-click this MIDI clip to open the Clip View. You can then choose from any of the three Clip View tabs by clicking their tab headers. Choose Note view (the first tab with a music note icon).

7. Navigating around the Clip

- To smoothly change the time-zoom level, click and drag vertically in the time ruler. Drag horizontally in the time ruler to scroll from left to right. While scrolling up and down using the mousewheel, you can hold the CTRL(Win) / CMD(Mac) modifier to zoom horizontally, or you can hold the ALT modifier to zoom vertically.
- Click and drag vertically in the note ruler to change which octaves are shown, or drag horizontally to change the vertical zoom size of MIDI notes and the keyboard.
- Click and drag over one or more notes to select them, or over a portion of the editor’s background to select a range of time. Then, double-click on the note ruler or time ruler to automatically zoom in on your selection. If nothing is selected, double-clicking the note ruler will zoom in on the area from the lowest to the highest note in the clip, while double-clicking the time ruler will zoom out to show the time between the first and last note. You can change the note selection using the CTRL(Win) / ALT(Mac) modifier in combination with the up or down arrow key.
- To zoom in and out around the current selection, use the computer keyboard’s + and - keys.
- The Clip Overview just beneath the MIDI Editor can also be used for navigation. It always shows the complete contents of the selected MIDI clip. The black rectangular outline represents the part of the clip that is currently displayed in the Editor above. To scroll, click within the outline and drag left or right; to zoom in and out, drag up and down.
- Change the length of what is shown in the Editor by dragging the left or right edges of the outline in the Clip Overview.
- To quickly change what is shown in the Editor, click on a section that you want to examine in the Clip Overview, then drag downwards to zoom in, or scroll by dragging left and right.
Hands On
- Beat (with a Drum Kit)
- Melody
- Bassline


Comments
Post a Comment